If you're reading this on the designated Daring Bakers' challenge day it means that I have managed to drag myself away from the beach, find an internet cafe and negotiate the trickeries of blogger formatting to post this. Yes, although I am currently on my sofa in chilly London, when you read this I should be in Cuba. God willing. I don't want to tempt fate before getting on the plane!
This month the Daring Bakers have grown a forest of cheesecake lollipop trees and, in between packing and trying to learn Spanish (I've got as far as 'Hola'), I've managed to make some too. I have to admit that initially I was sceptical about cheesecake on a stick. What's wrong with cheesecake in a big fat wedge with a chunky layer of crust on the bottom? However, I can see that these little fellas are very cute and would be perfect for a party or something a little bit different. Thank you to
Elle and
Deborah for the innovative challenge.
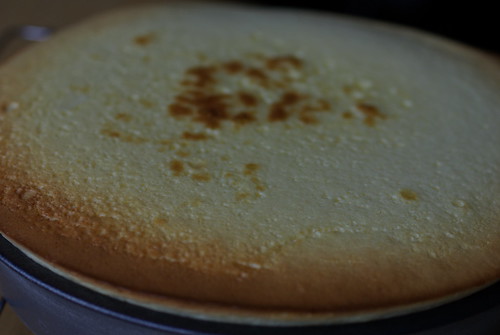
The pops are based on a basic vanilla cheesecake recipe which is baked in a water bath to ensure a rich and creamy result. I have used the water bath technique before and it definitely gives the cheesecake a real 'New York' consistency. It's also really easy. You just pop the cheesecake tin into a roasting pan and fill this outer pan with boiling water. Scented candles and bubble bath are optional. In the past I've used a loose bottom pan and even after wrapping it with layers of cling film I've ended up with a soggy crust. This time we were sensibly advised to avoid loose bottoms and it is definitely better to do so.
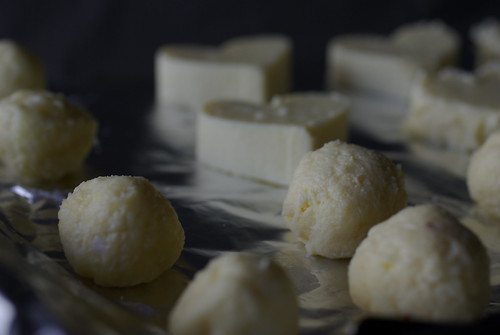
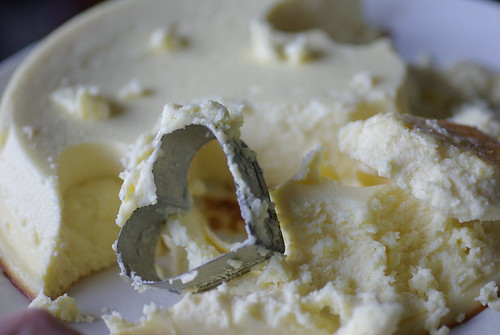
Once the cheesecake is baked you allow it to chill for a few hours (I left mine over night). When it is firm, you make your little balls (or other shapes - I used a heart cutter for variation). I was quite excited about this stage as I have a melon baller which I've used precisely once since pestering my mum to buy it for me about 6 years ago. With the help of the melon baller I was sure that delightful cheesecake orbs were well within my grasp. No. As I turned out less than perfect balls I decided to relgate this worthless piece of kitchen aparatus to the drawer once more. It's probably easier just to shape them with your hands.
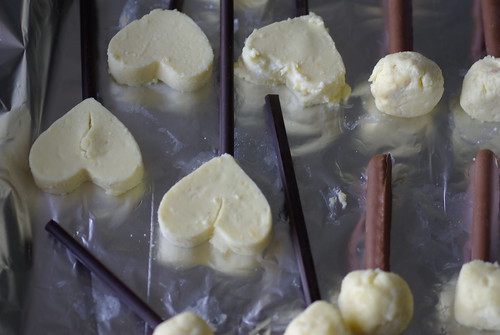
Once you have prepared your shapes you can insert a lollipop stick. I decided to jazz the pops up by using edible sticks. I was searching for orange flavoured
Matchmakers, but unfortunately I couldn't find any. In the end I used
After Eight Mint Straws and
Cadbury's Chocolate Fingers. I also think that those '
Mikado' biscuits that you get in France would be good as well. Once you have impaled your cheesecake balls they go into the freezer to harden.
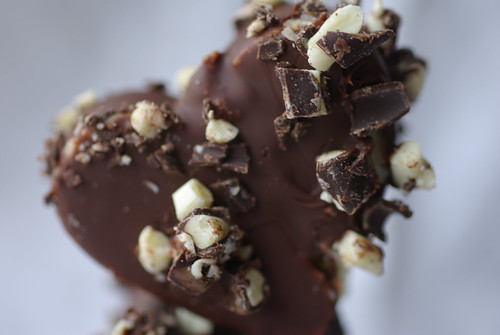
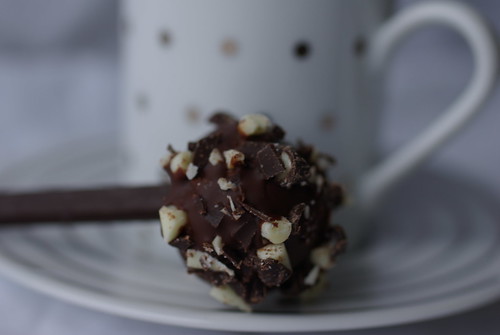
When your pops are firm you can melt the chocolate in preparation for dipping. We added shortening to the chocolate in order to improve its consistency and I think it does make a difference as it was very easy to work with. I was, however, a little peeved when I greedily grabbed a stray piece of cheesecake from the counter, only to find out that it was a lump of lard. Yuk. The chocolate and shortening are melted in a bowl over a pan of simmering water until the mixture is rich and glossy. You then dunk your cheesecake and hope that it doesn't fall off the stick and into the molten mixture.
I finely chopped some of the leftover mint straws so that I could roll the minty pops in the crums to add texture and extra flavour.
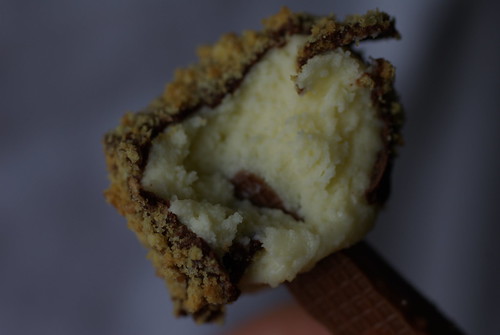
For the pops on the chocolate fingers I used digestive crumbs to give a nod to the typical cheesecake base.

I think that the minty pops would work well with coffee at the end of a meal:
whereas the biscuity ones are good straight into your mouth:
On reflection, I'm not sure whether I would make the pops again. Cute though they are, they are a bit fiddly and I did feel a little sad as I demolished my lovely cheesecake in the name of a challenge.
If you want to try these cheesecake pops you can get the recipe
here. Be sure to go and see what the other
Daring Bakers have done too.
Ps. Yipeee I made it across the Atlantic! I am now in Cuba and posting from the slowest computer ever with the sounds of salsa and the smell of mangos in the background. Unfortunately I have now given myself a craving for cheesecake! I will stop and look at all the other pop posts as soon as I am back.

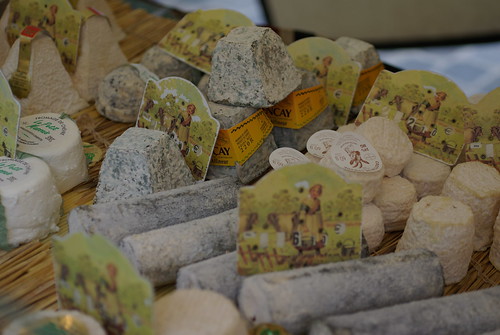
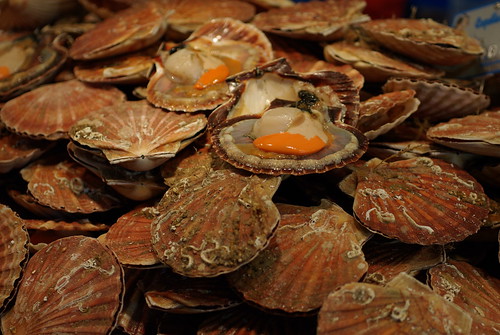
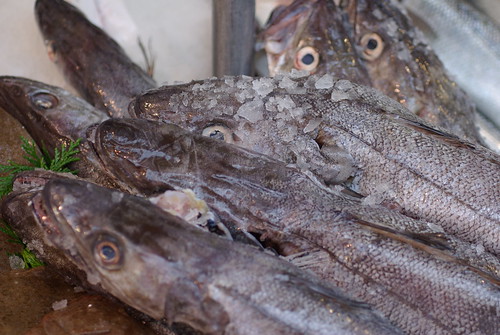
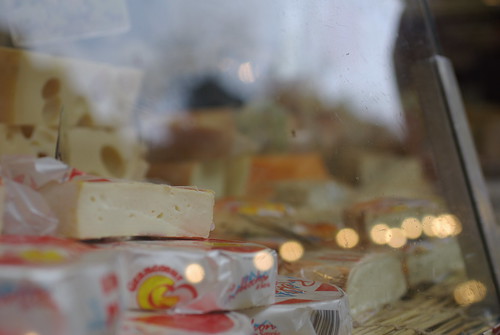
 As you'd expect, the quality of the food was outstanding and as I wandered the stalls I silently cursed not being able to take it all home. English markets now seem un petit peu merde in comparison:
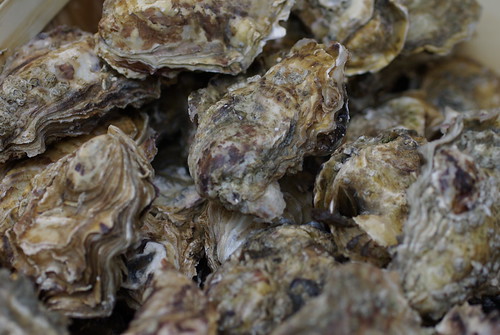
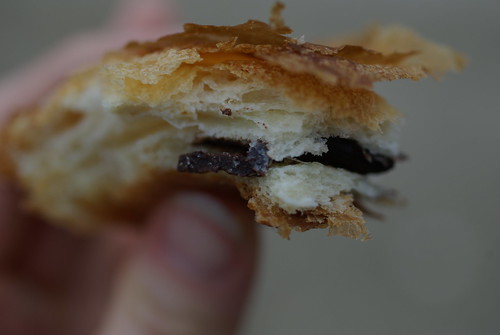
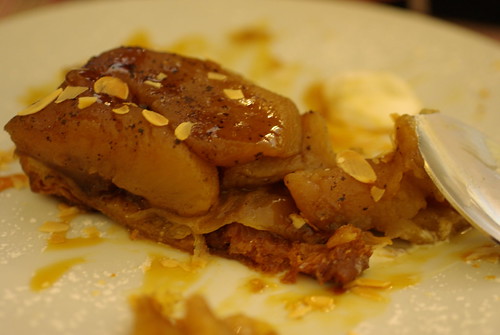
 In the end I settled for a pastry:
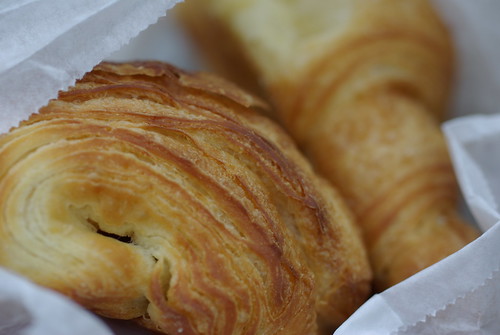
 and one of these delicious mini cakes (note that they are mini - that's why French women don't get fat!).
 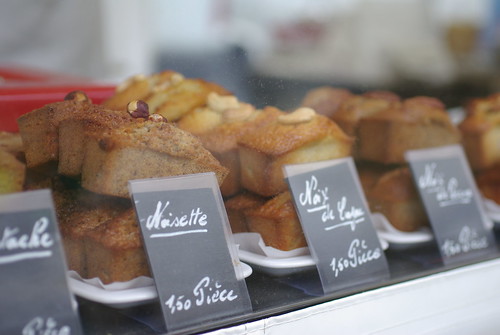 Moist frangipane sponge - mmmm.
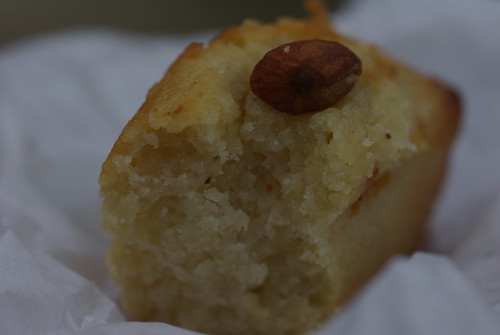

 A bientot my foodtastic Paris.